I want to start this entire post out by saying that processing grapes really, truly is a labor of love. In my experience it takes a lot of time, mindless time, but time nonetheless. However, the products I have made with them have been well worth it to me, and my family would absolutely agree.
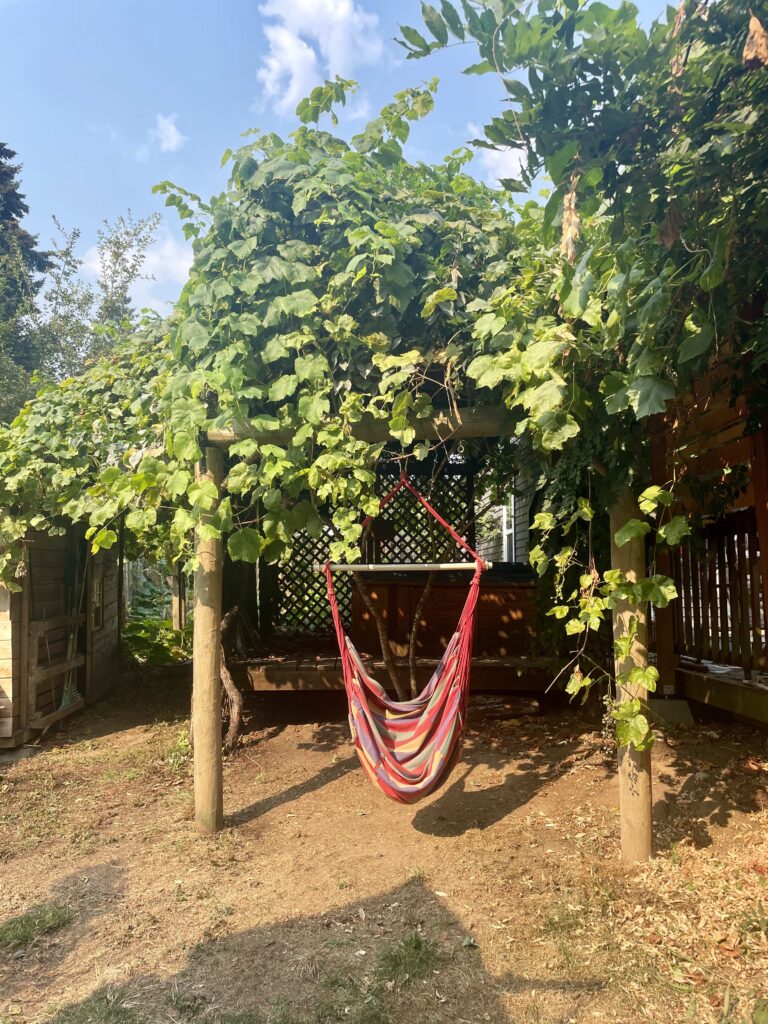
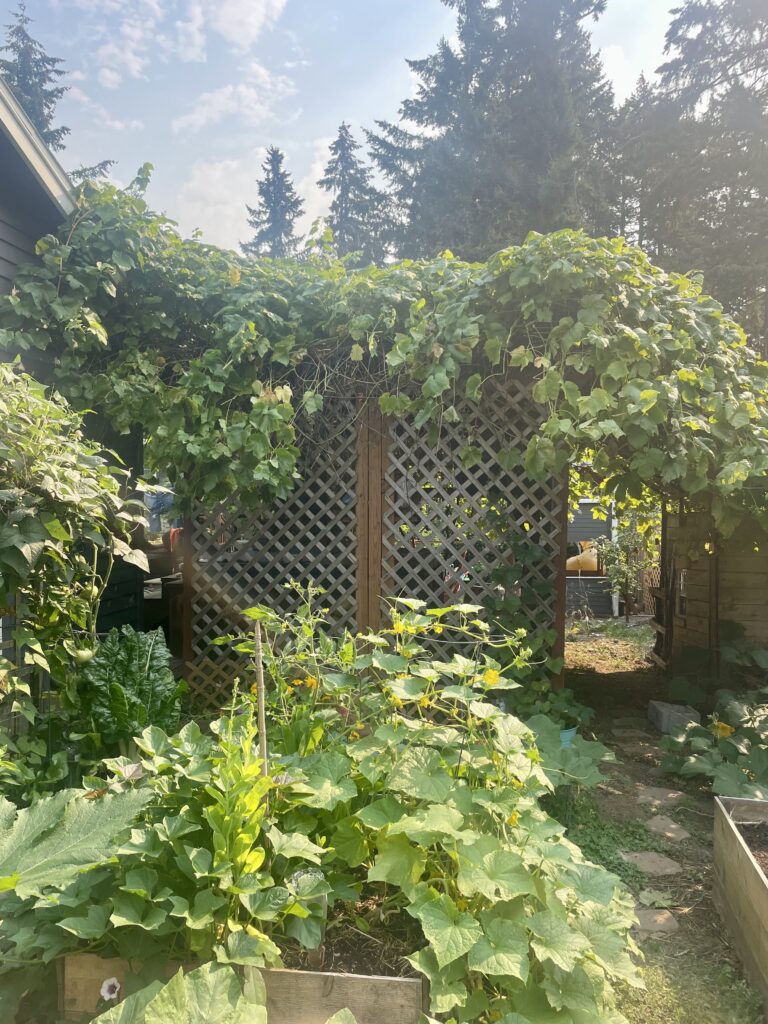
When we first looked at our house we were out in the backyard and once I got over the initial excitement about the chickens scratching about, I looked up and shouted, “Grapes!” Our backyard has a pergola over the deck that is entirely engulfed in green grapes. (I do not know the specific variety / genus / brand of grapes, please don’t ask.) They are sweet and delicious and I couldn’t wait to dig in and make my very own raisins and jelly. 
Abundance of Grapes!
Our first summer in the backyard came and went. I didn’t do much with the grapes besides making small batches of raisins, grape jelly, and of course, eating them straight off the vine. They were so delicious, and the raisins that we made were better than any store bought raisin. Now that we make our own I just can’t eat store bought raisins. They are too sweet and mushy. I am convinced that is the reason people don’t like raisins, they haven’t tried homemade raisins! The grape jelly, also sugar free because these grapes are sweet enough on their own, was also delicious. However, I learned that I prefer jam to jelly, so we only made one batch of jelly.
Last summer, after seeing a video of someone making cranberry juice with fresh cranberries I was inspired. With this concept I could make my own grape juice! It didn’t need to have any added sugar, and I could give my family delicious juice from the garden. So that’s what I did. When my eldest finally took a liking to it we went through it fast. Every year I have tried to improve my grape juice game, and I hope to inspire you to give it a try!

How to make Grape Juice
Equipment Needed
- Large pot or water bath canner
- Quart or Half Gallon sized mason jars – you can use regular or wide mouth quart jars, for some reason I prefer regular
- Canning Lids & Rings
- Jar grabber
- Large mouth Funnel
Ingredients
- Grapes – 2 c. per quart, 4 c. per 1/2 gallon
- Boiling Water
It really is that simple!
IMPORTANT NOTES BEFORE YOU GET STARTED:
- Use the three finger tightening method when putting the lids on your jars. While holding the jar with one hand use the other hand to tighten the lid using only your thumb, index and middle fingers. You don’t want to over tighten the lid when pressure or water bath canning as you won’t get a proper seal.
- Make sure there is enough water in your pot to cover the jars completely and an additional 1 inch. If you need more water boil some in your tea kettle and add it in
- I have read that grapes are one of the only produce items recommended to be preserved in a half gallon because they are so acidic. We used the juice canned in our half gallons last and I can report we have had no cases of botulism in this house.
Directions
- Once ripe, pick your grapes off of the vine & bunches – this is the time consuming part. Turn on a podcast and get to work!
- Start warming up the water in your water bath canner
-
- Before I bought my canner I used a large stock pot that was deep enough to cover my jars, if this is all you have that’s fine! Use what you have!
-
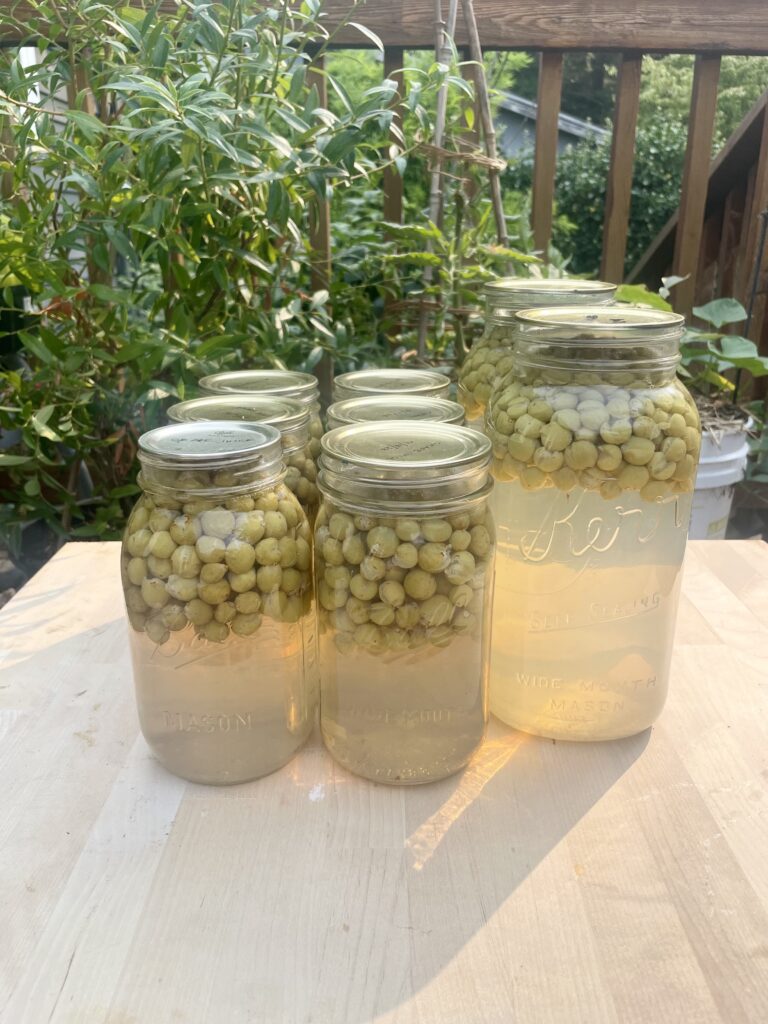
- Using your large mouth funnel put 2 cups of grapes into each quart jar you are using, or 4 cups into a half gallon.
- Boil water to pour over grapes
-
- I have to do this in batches with our tea kettle. One full tea kettle typically fills 3 quart jars.
-
- Pour boiling water into the jars
-
- Since I typically have to do this in batches I will put the already filled and lidded jars in the canner to keep the water warm while I boil more water and fill
-
- Wipe clean the rim of each jar with a paper towel dipped in vinegar
- Put canning lids and rings on each jar, tighten
- Once the water in the pot or canner has come to a boil carefully lower each jar into the water with your jar grabber
- Once the water comes back to a boil start a timer for 25 minutes and let it boil! If using half gallon jars, let it boil for 30 minutes. You can’t over “cook” grape juice.
- Let sit in your “cantry” for 6 weeks before enjoying!
This has become one of my favorite things to have on hand in the cantry, and it is an easy, wonderful canning project for beginners. Stay tuned for more preservation methods, we’ll be talking raisins soon!
Shop This Post
As an Amazon Associate I earn from qualifying purchases at no cost to you!


What do you think?